
When I joined Brightside in October 2022, I was super excited to work for a brewery and learn how to brew beer (plenty of people around me were jealous that I’d be “working with beer all day”). I started as Carley’s assistant in the office, but I knew I wanted a day downstairs brewing with Martin. To my surprise, Carley agreed and let me dive in! Here’s my account of everything I learned that day—from the highlights to the behind-the-scenes work you drinkers don’t have to think about while sipping a pint!
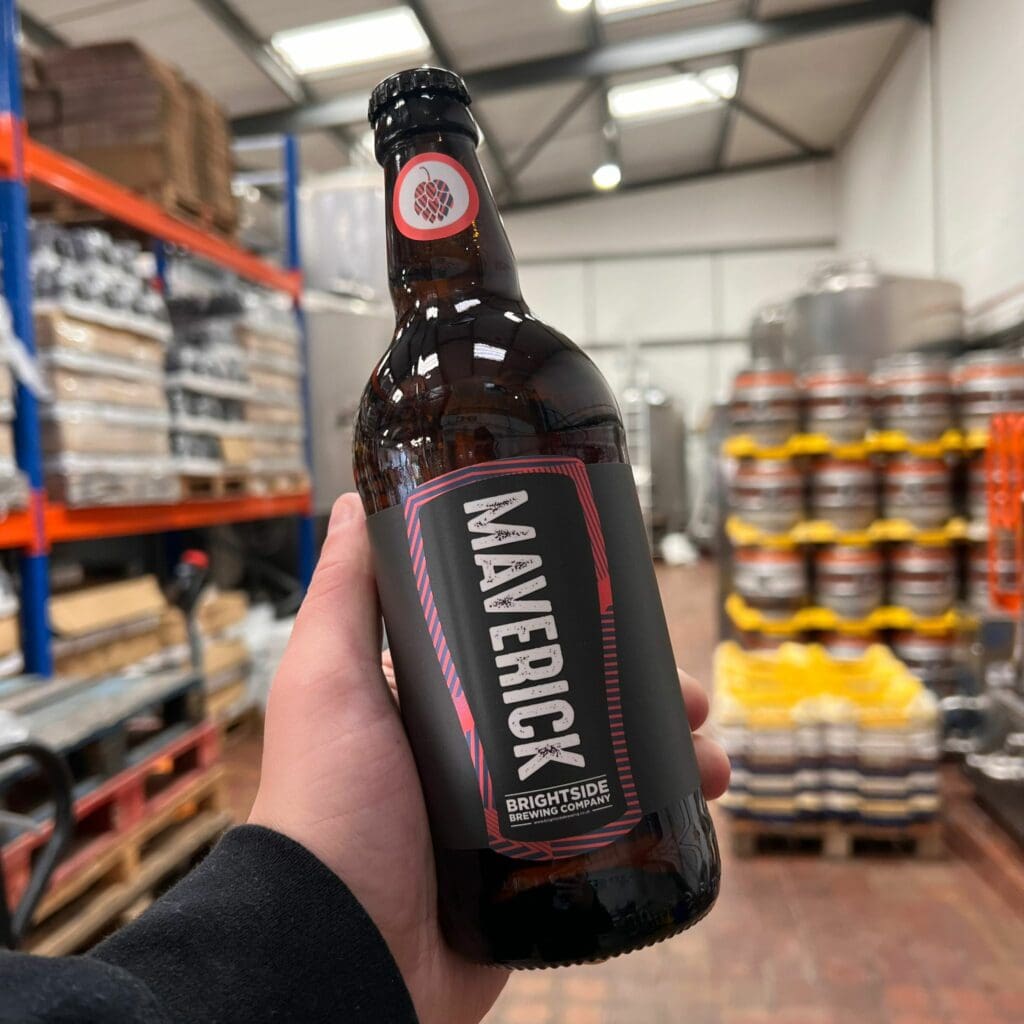
My day started at 6am, and let me tell you, waking up at the crack of dawn was no easy task! But I signed up for this, because apparently, you’ve got to be up early to make beer. After a couple of coffees, I felt caffeinated and ready to go. The first thing I faced was a pile of ingredients that had been weighed out the night before, and I quickly had to figure out what was what. Luckily, Martin was there to explain which grains we were using and what beer we were brewing that day—I was excited to learn it was Maverick, one of my favourites!
We also had a look at a run down of the day’s tasks – This included making sure we had enough hot water for brewing, as well as other jobs that we’d have to get done. I’m not going to lie, it’s not all glamourous, but more on that later.
By this point, we knew what beer was being brewed and we had hot water at our disposal ready to start. As part of our preparation, Martin had me checking the equipment we were going to be using and making sure it was sterile and safe to use for beer production as well as making sure the areas we’d be working in were tidy and organised. You never know when you’ll need to grab something when you’re already juggling 3 other jobs!
Back to those all-important beer ingredients, because it’s finally time to start putting them to work. As we were brewing Maverick on this day, we were using lightly caramelized malts to provide the foundation that we then mixed with American Cascade hops which bring bold grapefruit and floral aromas to the beer. The hops used here really are the main attraction in Maverick.
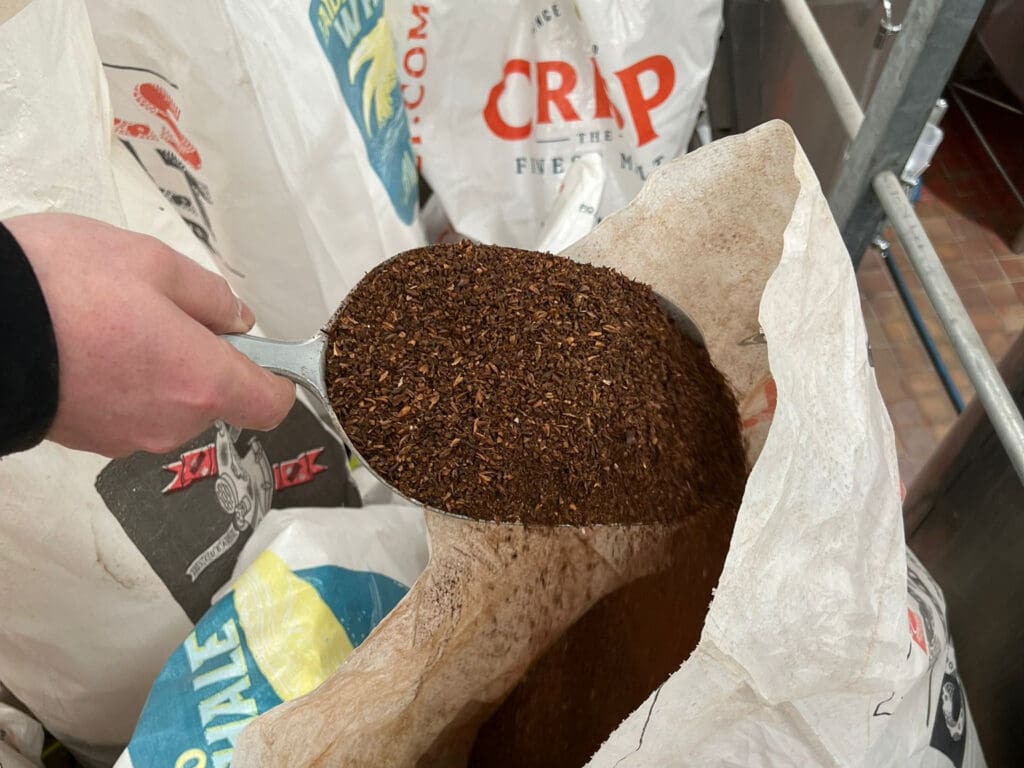
If we were brewing anything darker, we might be using a rich and dark malt blend to enhance the colour of something like a stout or a mild beer. While we weren’t brewing a dark beer on this day, you can see what our darker malts look like below.
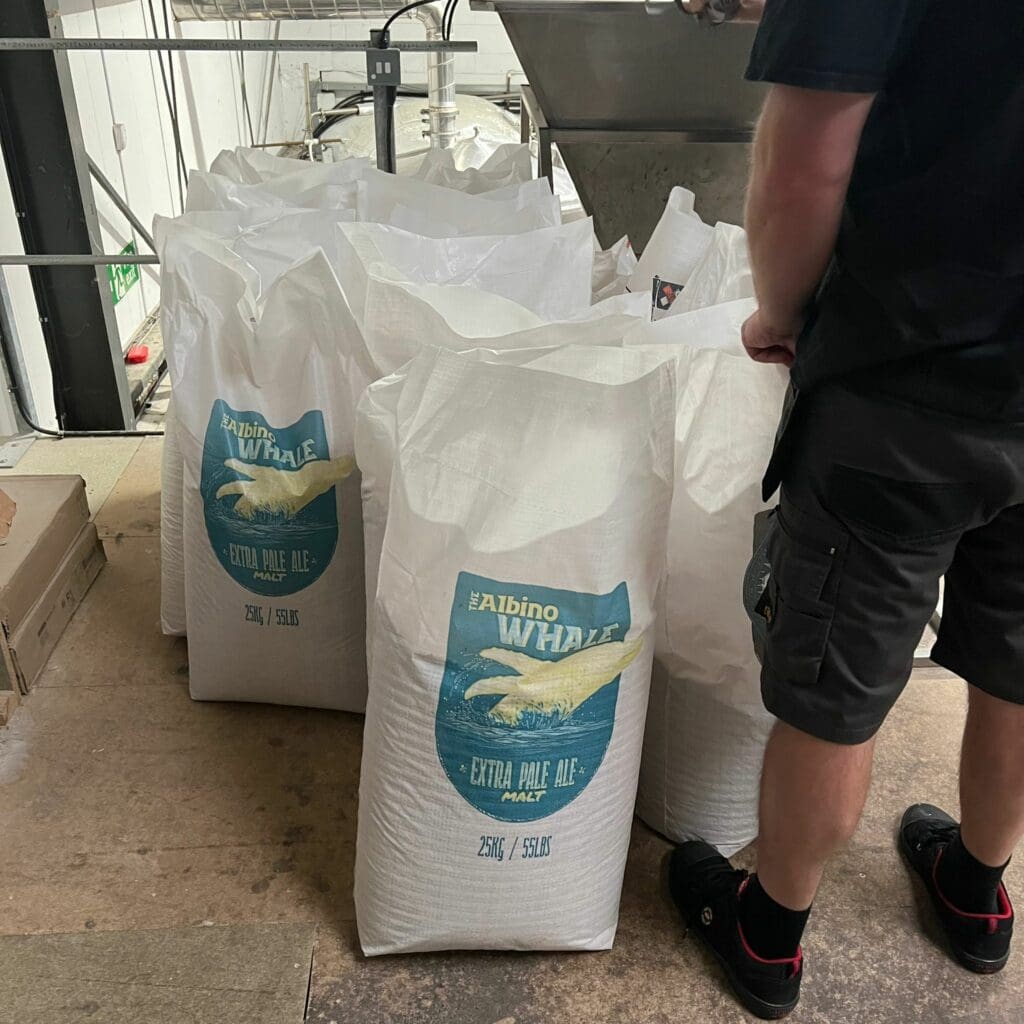
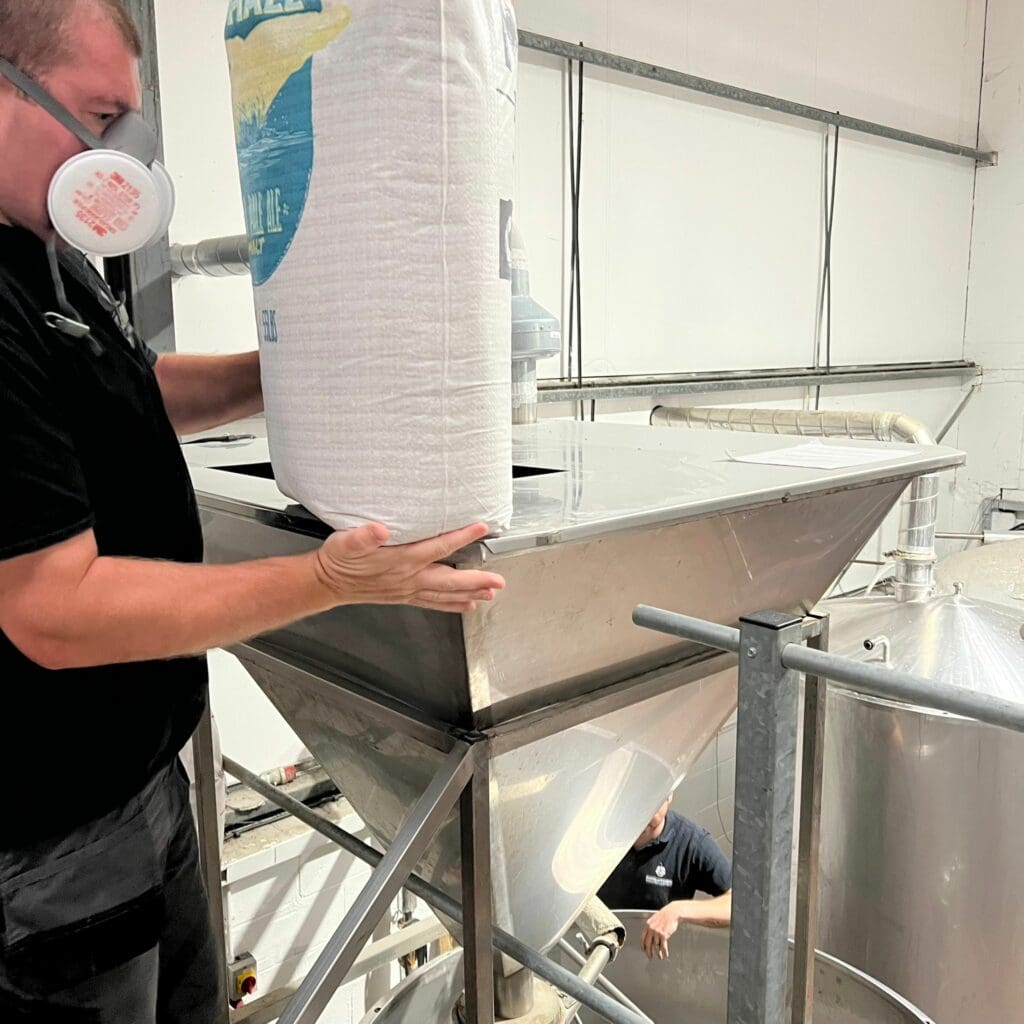
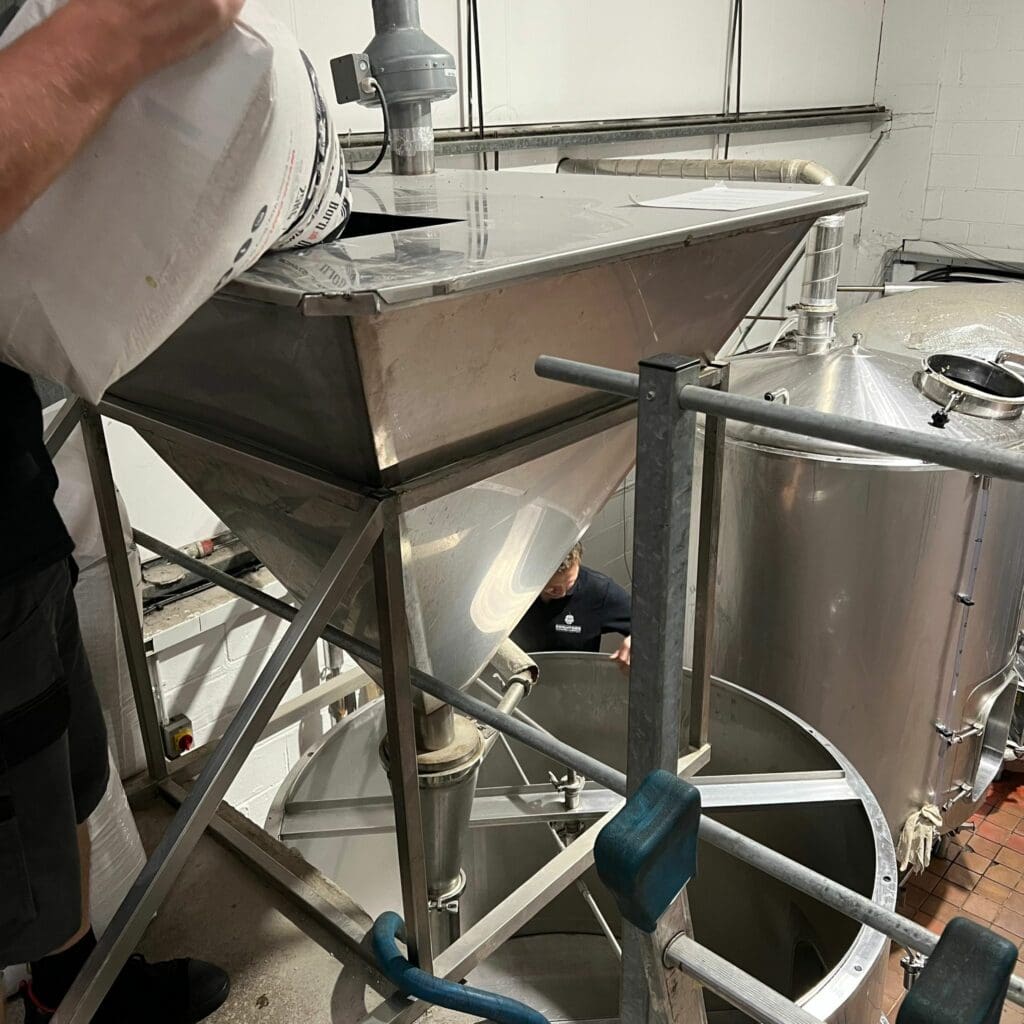
Coming back to Maverick and it’s time to use my muscles. Each grain bag weighs around 25kg, and they all need emptying into the hopper which sits above our mash tun. It’s hard and laborious work but there’s only one way of getting those grains where they belong!
Malt has a few purposes in beer. It provides the sugar which will be fermented into alcohol (kind of important when brewing beer), as well as forming the base for the flavour profile and enhancing the colour of the beer. By combining with hot water , it means we’re able to extract as much as possible from the grains which will be important when they go into the mash tun.
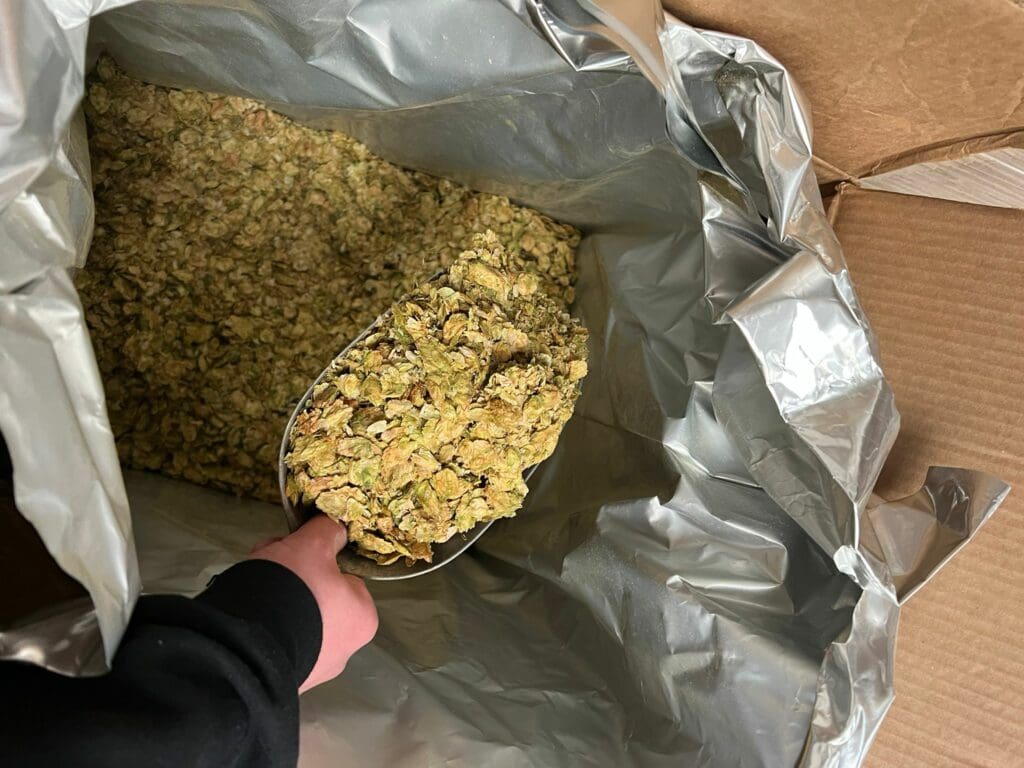
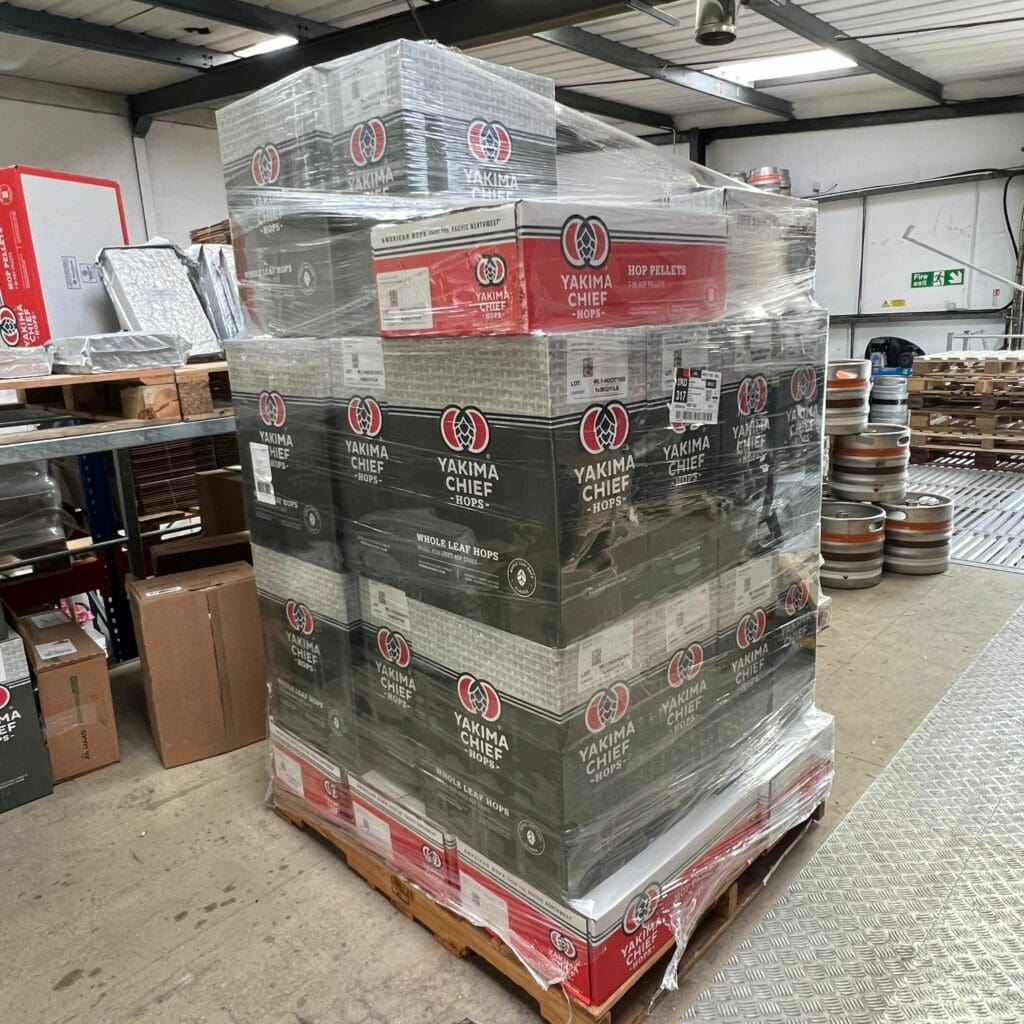
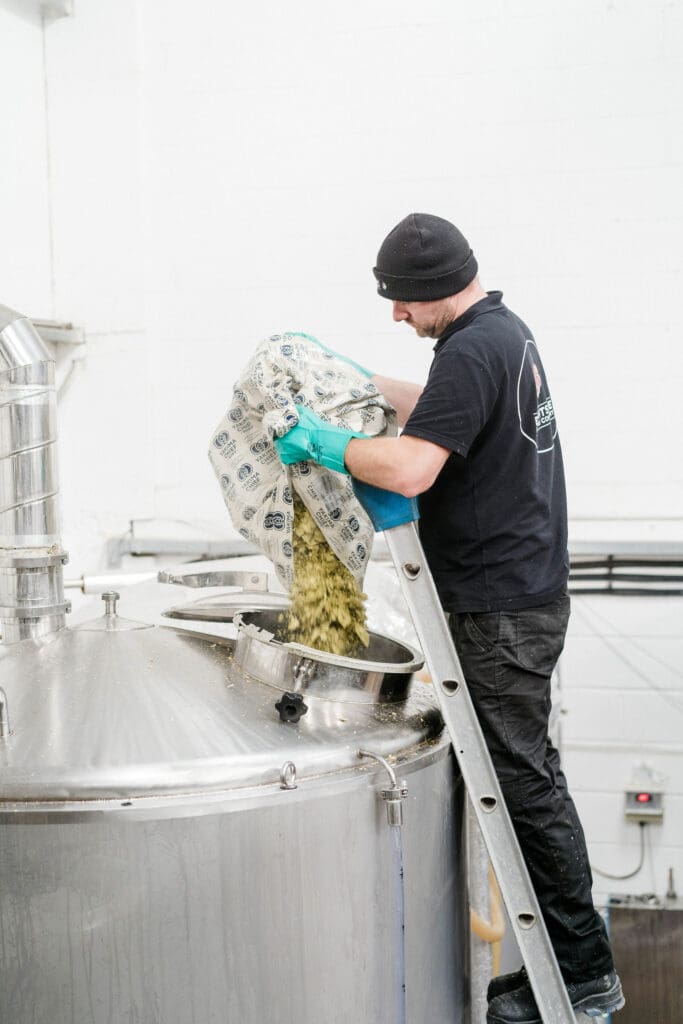
Hops on the other hand are all about the aromatics – Think of it almost as adding seasoning to a food dish. Martin was able to show me a few different hops we have in the brewery, such as: Cascade, Amarillo, Citra and Simcoe. These hops come in different forms, some are packaged to us as whole cone hops and some come in as pellets – We use our hop pellets in most beers but where a beer requires dry hopping, we may use whole leaf hops which are more delicate and are typically used later in the brewing process.
That’s enough talking about the ingredients, it’s time to start turning them into beer! We began moving the milled grains into the hopper above the mash tun by gradually adding them into the tun vessel itself. As I was adding the grains from the hopper, Martin was adding the hot water with the ideal being the correct amount of water being added by time the last of the grain was added into the mash tun.
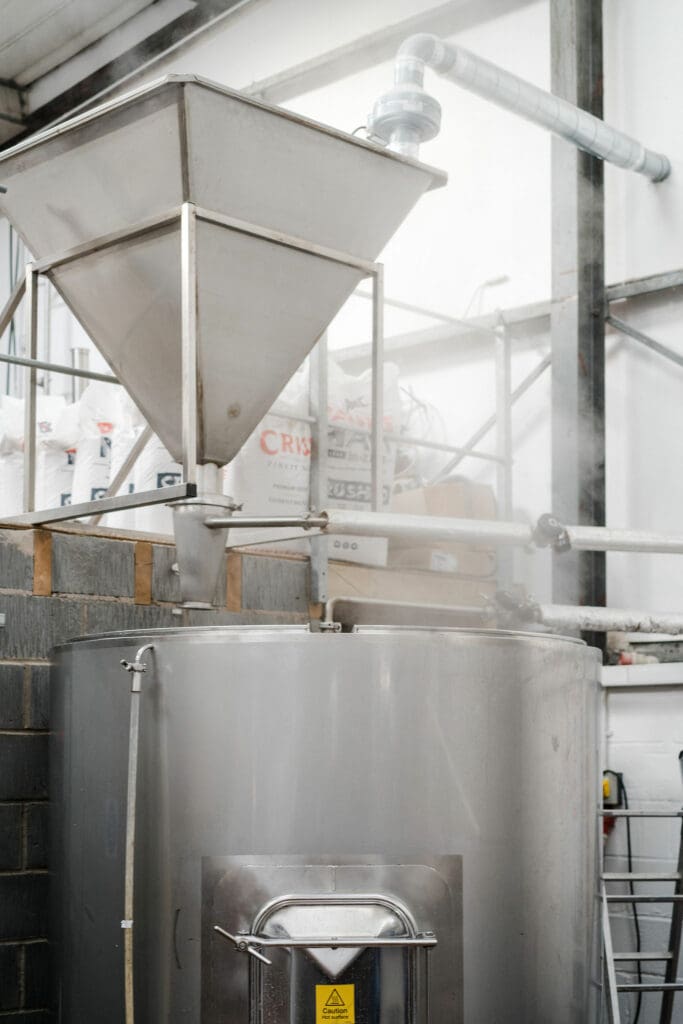
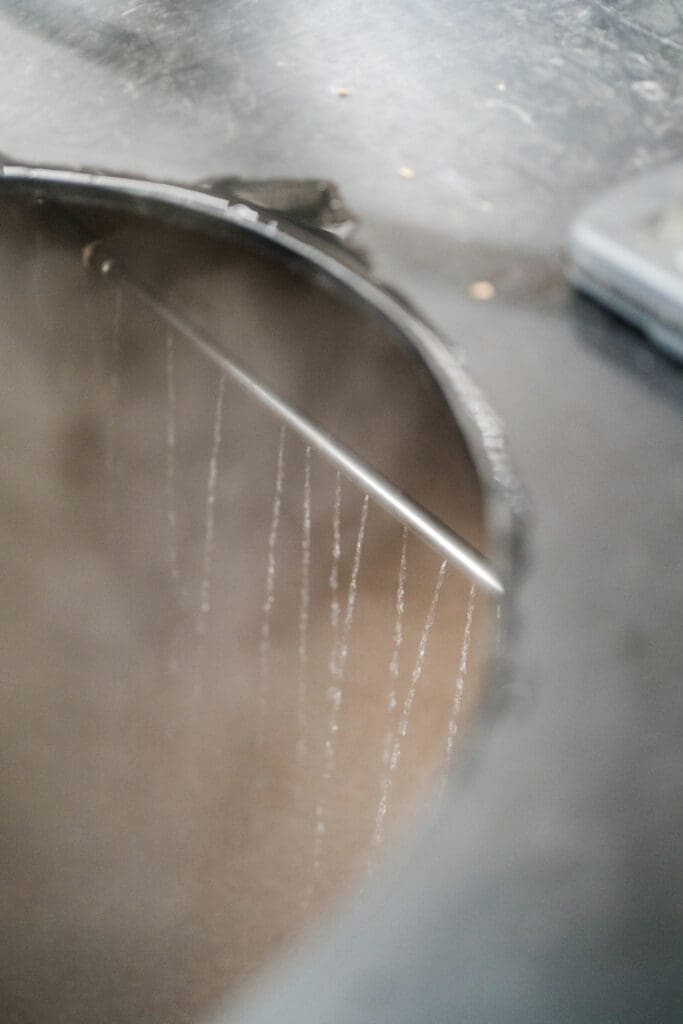
As the grains steep in the water, the sugars I mentioned earlier immediately begin diffusing into the mixture, creating the grainy liquid we call wort. We keep the mixture at a constant 64 degrees Celsius, letting it work its magic for about an hour. By that point, the brewery smells amazing!
Since we’re brewing with relatively light malts, we don’t get much color in the mash tun. But if we were brewing a stout, for example, the wort would turn a deep, dark (almost black) color, packed with the complex flavors typical of darker beers.
During the mash, we continuously circulate the wort to keep the liquid moving and extract as much as possible in this stage.
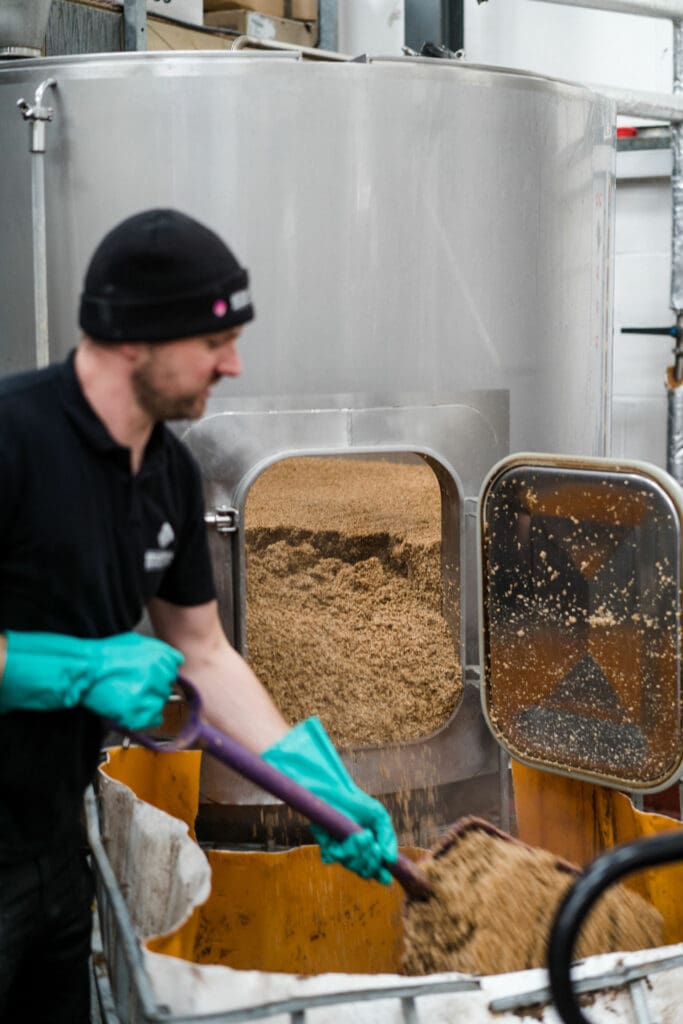
After mashing, we need to separate the solids from the wort. We move the liquid through a filter and start filling the boiling tank with the wort, leaving behind a nice bed of used malts at the bottom of the mash tun. I figured Martin was perfect for the next task—shoveling the used grains into a waste bin, ready to be recycled into cattle feed. Trust me, this part of the process is hot work, especially when handling warm grains. Like I said before, working at a brewery isn’t always glamorous or fun!
Now we had a nice and full boiling tank, we started to bring the wort up to a boil and ready to begin adding hops. We add hops at different stages of the boil depending on what we want to use them for. Bittering hops will typically go in first for up to an hour, flavouring hops come next, and these might go in for 15-30 minutes before we add our aroma hops in closer to the end of the boil for about 5-10 minutes. Martin was responsible for giving the beer a good mix to make sure the hops were evenly distributed and constantly moving for the next hour.
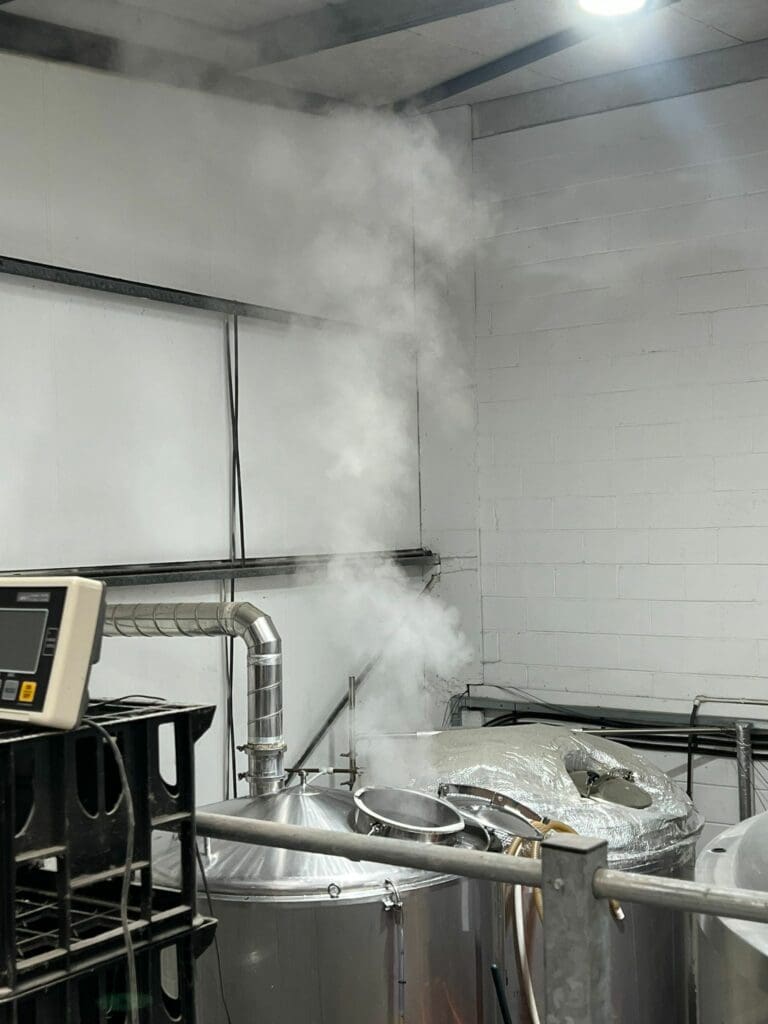
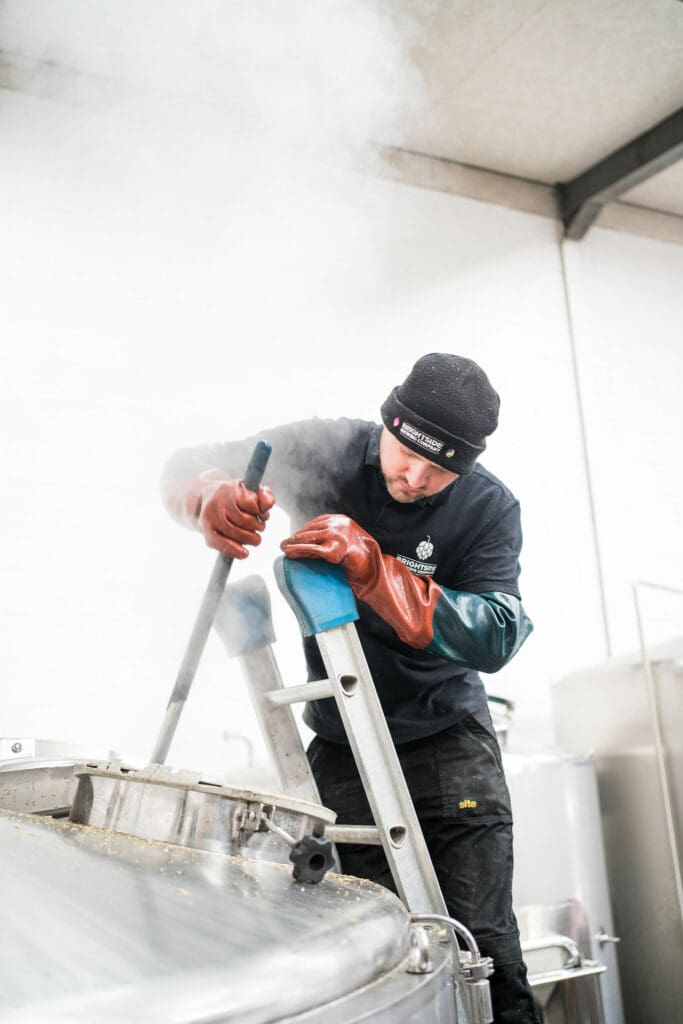
Once we were done with the boil, Martin had me connecting all sorts of pipes together so we could move the wort through the brewery to the next stage of the process, fermentation. It was from here that we began passing the beer through a heat exchanger. This reduced the temperature of the brew down to around 19 degrees Celsius, which is the temperature that we ferment Maverick (and most of our other ales) at.
It was during fermentation that we added in our yeast. This metabolises the sugars into alcohol all while at the same time creating the CO2 which lightly carbonates the beer.
During fermentation, we may add extra hops into the beer, in a process we call dry-hopping. You’ll find our hoppier beers (such as IPA) have likely been through a dry hopping stage which gives them their punch.
After fermentation, the beer will be at the correct ABV and ready to be either casked or kegged.
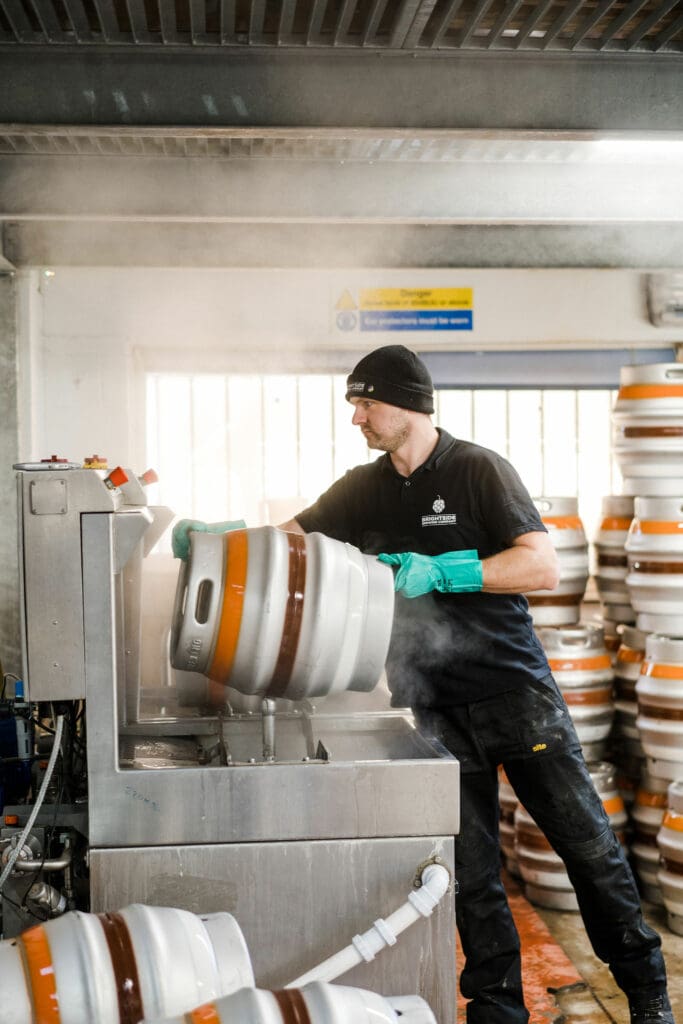
Do you know what’s important when you want to cask beer? Having clean casks! That’s why I spent well over an hour on my brew day tackling a pile of empties, stripping them down, jet washing them, and loading them onto our cask washer. The hot water and food-safe chemicals do the job of eliminating any nasties and sterilising the casks, getting them ready to be filled with beer.
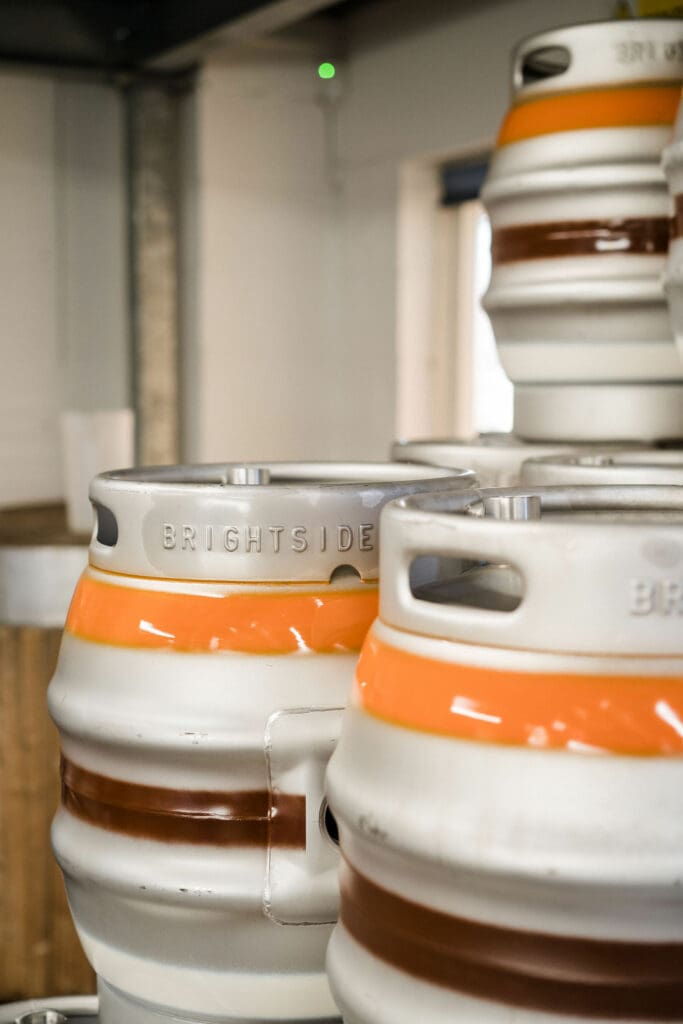
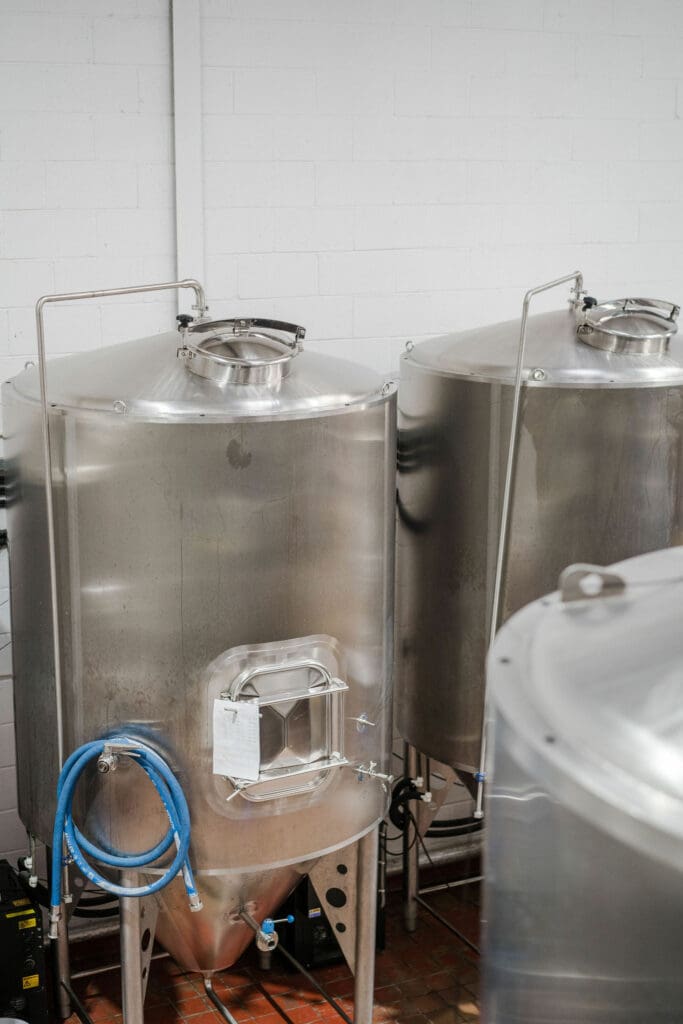
For casking, we fill the casks directly from the fermentation vessels. Martin explains that before casking any beer, we need to run plenty off to clear out any sediment—yeast, hops, or grains—that may have settled in the fermenter. Once the beer runs clear, we start filling our casks. Using a small length of hose, we can fill a cask (72 pints) in about 18 seconds—that’s 4 pints per second!
After we’ve filled and plugged the cask, we move it to the chiller, where the beer conditions for 10 days at 16 degrees Celsius. This gives the beer time to mellow out and allows the flavours to come together. It also lets the beer produce any final CO2, giving it that gentle fizz when poured at your local.
If we’re kegging the beer, we send what’s called an Arlington to our bottling/kegging partners. They return the filled kegs, which are pressurized (we usually keg lagers and IPAs, while our ales are casked on site).
After all that, it’s time for the most important part. We’ve produced a load of great tasting beer and it’s time to start drinking it. Whether you enjoy a pint of The Mancunian in your local, or a couple bottles of Maverick at home, you can drink easy knowing the efforts we went to, to make your beer.
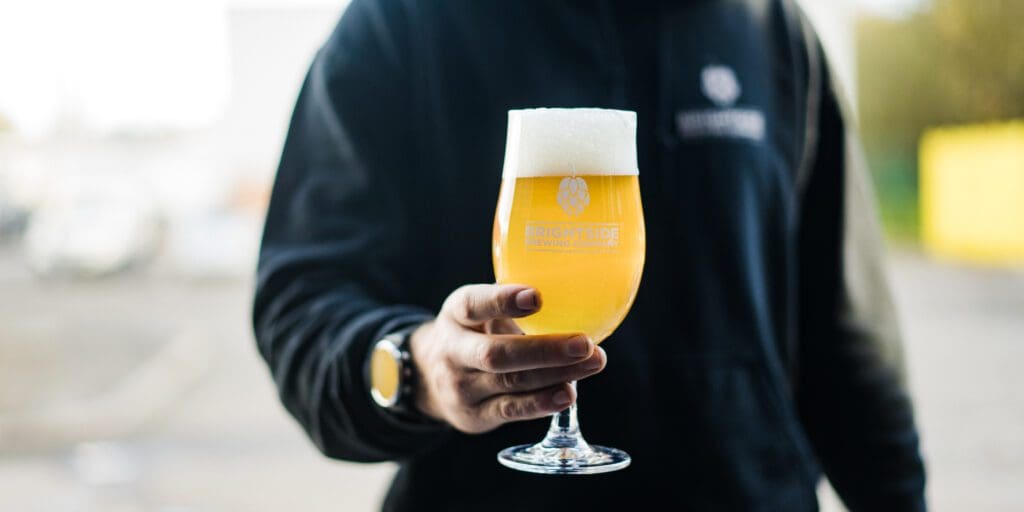
Cheers!